· Digital Footprint Check · Content Marketing · 14 min read
Data Breach Victim Survival Guide: What to Do Right Now
Practical steps every data breach victim should take — from password resets and credit freezes to OSINT scans and legal recovery
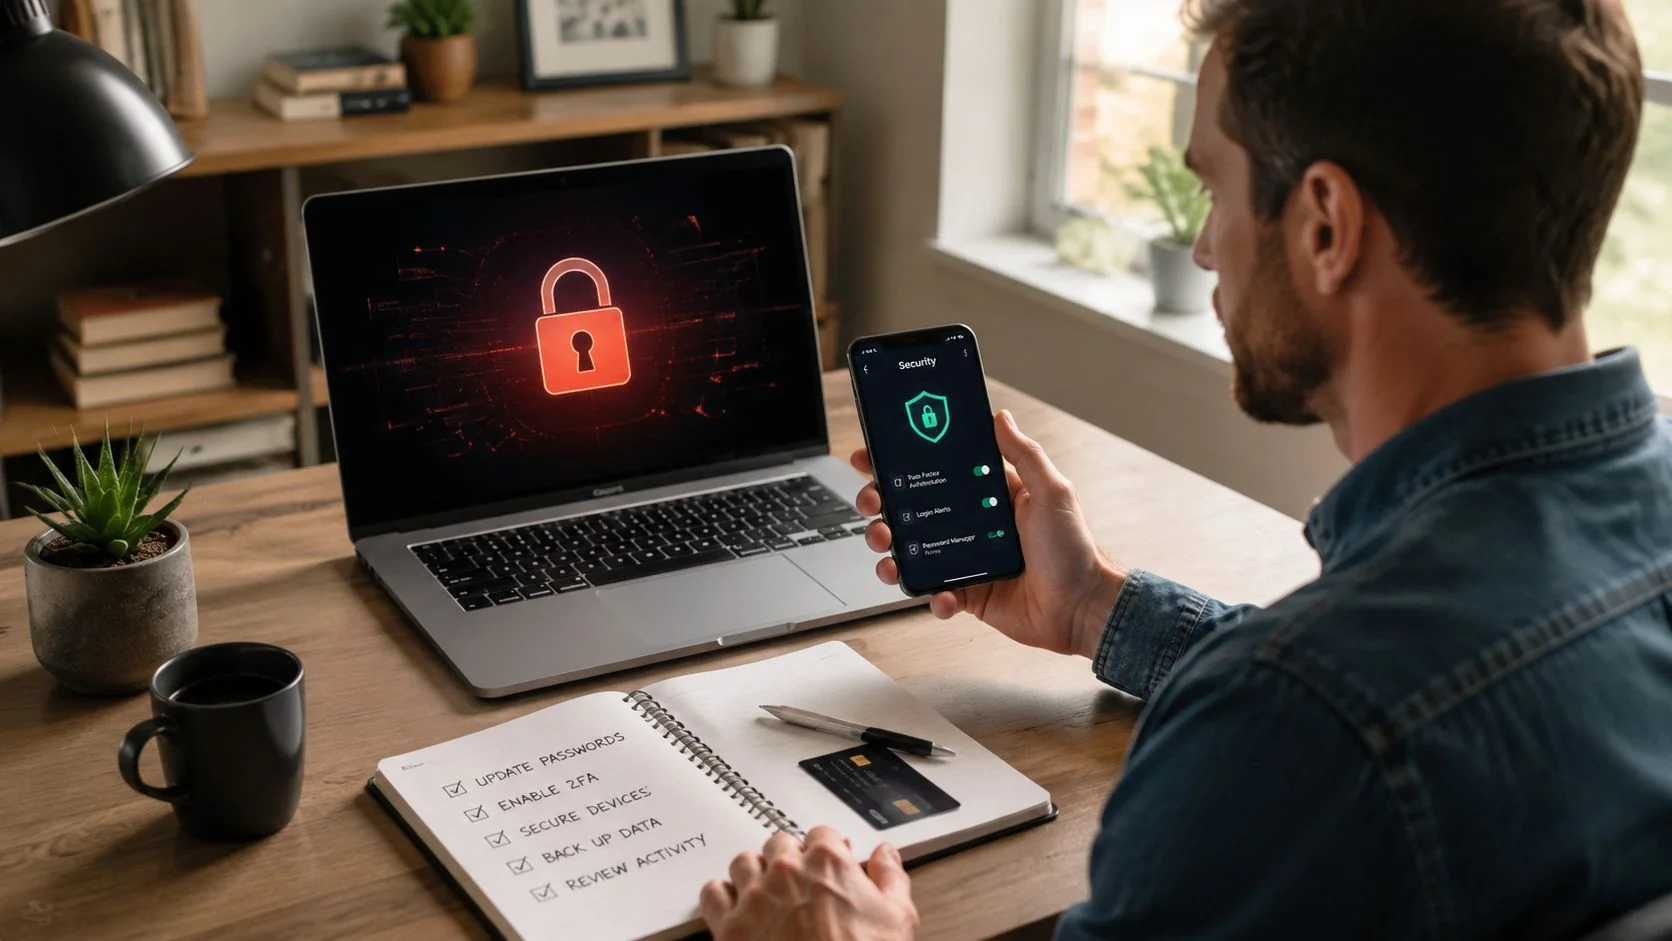
A breach notice arrives while you’re making coffee, commuting, or trying to get through a normal workday. The message says your information “may have been accessed,” but it doesn’t clearly tell you what was taken, how attackers got in, or whether anyone has used your data. You’re left with a password-reset link, a monitoring offer, and a growing fear that you’re missing the one action that matters most.
As a data breach victim, don’t treat the notice as the complete story. Treat it as incomplete intelligence. Your job is to document what the company has said, contain the accounts most likely to be abused, search for exposure the company didn’t mention, and escalate when the facts point to financial or identity theft. The United States has a large victim population: the Bureau of Justice Statistics found that in 2021 about 23.9 million people age 16 or older, roughly 9% of residents in that age group, experienced identity theft during the prior 12 months, and about 59% reported financial losses totaling $16.4 billion (Bureau of Justice Statistics identity theft report).
The First 72 Hours After a Breach Notice
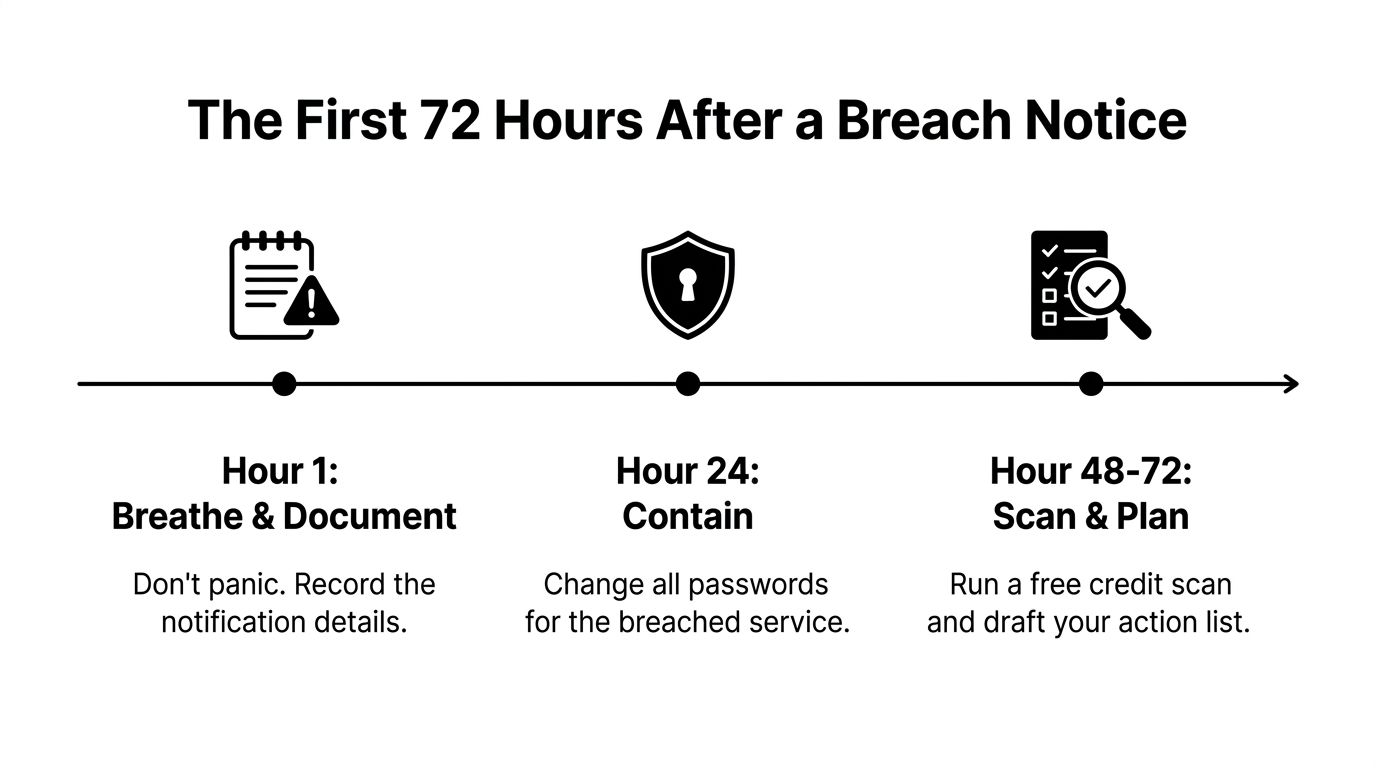
The first mistake is panic. The second is doing nothing because the notification is vague. Use the first 72 hours as a controlled response window. Small, correctly ordered actions protect more than frantic password changes across every account you own.
Start by answering four questions in a note on your phone or computer:
- What account or service was involved?
- What categories of information were exposed?
- Do you still control the account?
- Who else depends on it?
That last question matters. A compromised email account may control banking resets, work logins, gaming profiles, dating accounts, cloud storage, and family services. A breached loyalty account creates a different response from an exposed Social Security number, but both deserve documentation.
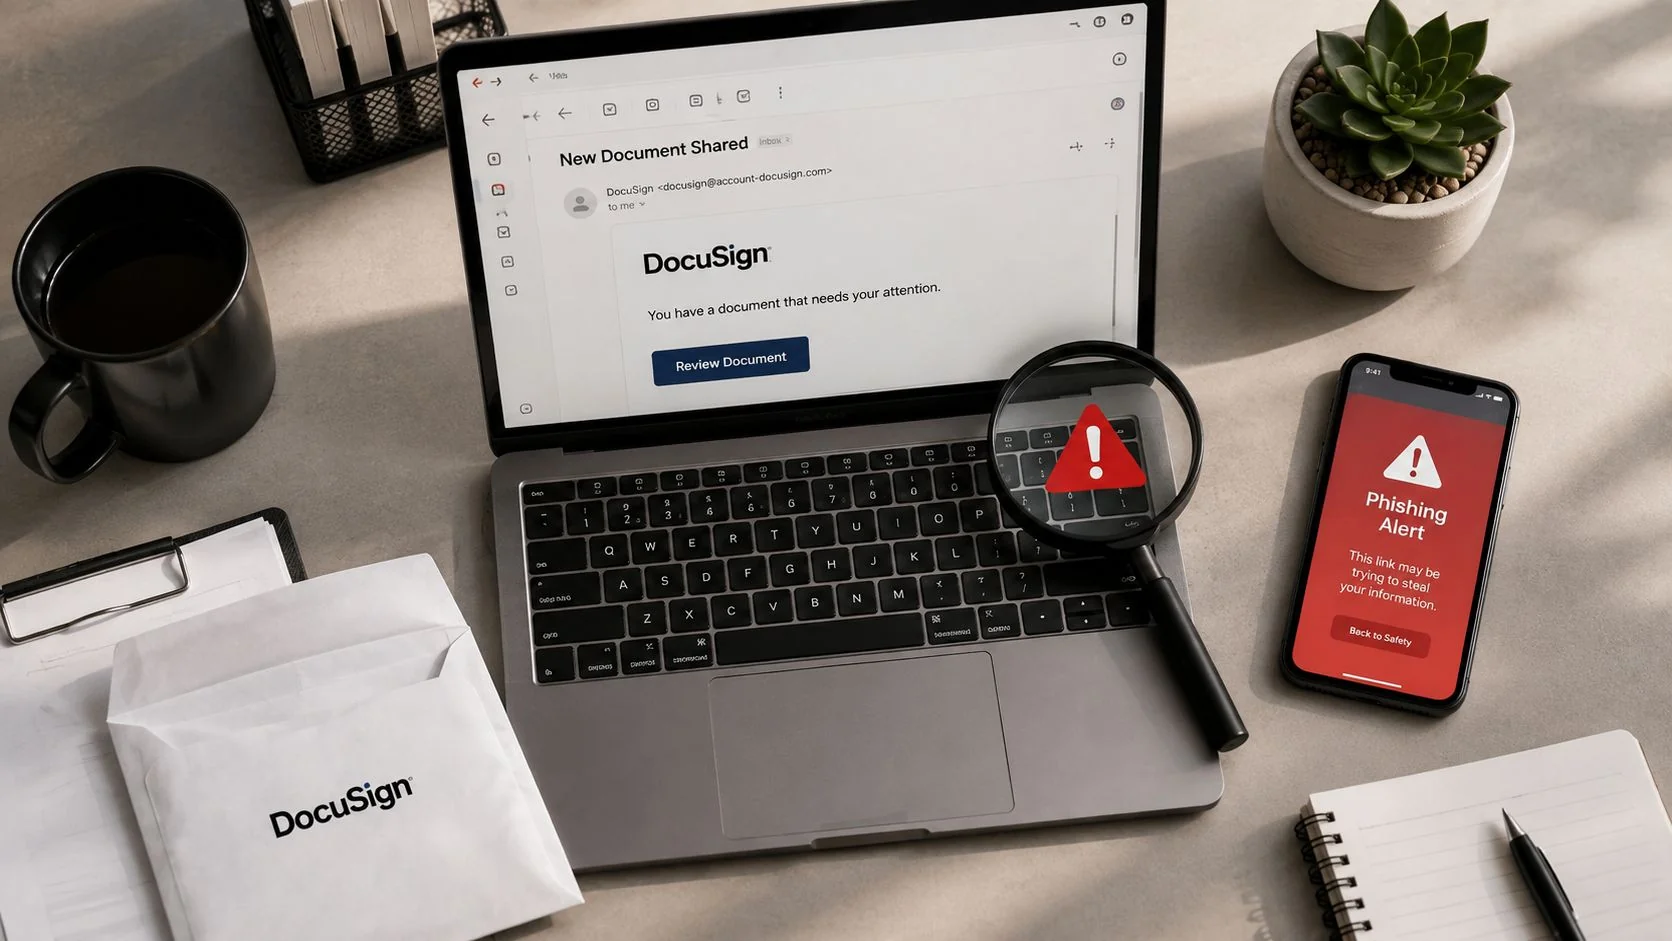
Save the original email, the sender address, the date received, the company’s incident page, and any reference number. Don’t click links in the notification until you’ve confirmed the company’s domain independently. Search for the company’s official website using a trusted browser bookmark or a statement you already possess. Breach notices and public reporting often disagree because investigations develop in stages, notification language gets simplified, and different affected groups receive different letters.
Use the sequence, not the noise
During the first hour, record facts and secure your email account if it’s connected to the breached service. By the first day, contain access. During the following two days, scan your wider digital footprint and decide whether credit, banking, legal, or professional support is needed.
My rule: Don’t chase every rumor about the breach. Build a clean incident file, then act on verified exposure.
Organizations that need a more formal process can use an Nerds 2 You Edmonton response plan to structure incident handling and recovery. For your own exposure, use this free data breach checker comparison as a starting point, not as a substitute for securing accounts.
Reading the Notice and Figuring Out What Happened
A breach notice gives you a starting point, not a complete account of the attack. Read it as an incomplete incident file. Separate the incident date, when unauthorized activity may have occurred, from the discovery date, when the organization detected it. A long gap suggests that the data may have been accessible for an extended period, but the letter may not show what attackers accessed or did.
Start with the exposed data categories. An email address supports phishing, password-reset attempts, and account matching. A username can connect identities across social media, gaming profiles, forums, and dating services. Financial information calls for bank and card review. Government identifiers, medical information, biometric data, and authentication secrets require a stronger response than exposure from a generic marketing database.
Read the company’s security wording closely. “Encrypted” does not explain whether the keys were protected, and it does not confirm that credentials were hashed with a modern process. Check whether the company offers credit monitoring or identity monitoring. Credit monitoring focuses on activity in credit files, while identity monitoring may cover broader warning signals. Neither service secures your accounts for you.
What breach notice fields mean
| Notice Field | What It Tells You | Immediate Action It Triggers |
|---|---|---|
| Incident date | When unauthorized access or exposure may have occurred | Check activity from that period and preserve records |
| Discovery date | When the organization identified the event | Compare it with the incident date and ask about the gap |
| Data categories | Which forms of misuse are plausible | Prioritize passwords, bank accounts, credit, or identity documents |
| Credential status | Whether passwords were involved and how the company describes protection | Change reused credentials and review sign-ins |
| Monitoring offer | What type of assistance the company is funding | Activate it only after confirming what it covers |
| Remediation details | Whether the organization has taken concrete corrective action | Ask for missing facts and keep written correspondence |
Treat a vague timeline, missing data categories, no explanation of access, or no concrete remediation commitment as warning signs. Check the company’s official incident page, regulator disclosures, and credible breach records. Use the data breach notification requirements guide to identify information that may be missing from the letter.
If the notice omits the root cause, do not fill the gap with guesses. Use a decision tree based on the most harmful plausible exposure. Reused credentials require immediate containment. Exposed financial data requires transaction review. An exposed government identifier requires credit protection and identity-theft documentation. Preserve the notice, your correspondence, and relevant account records so later updates can be compared against the original account.
Containing the Damage Step by Step
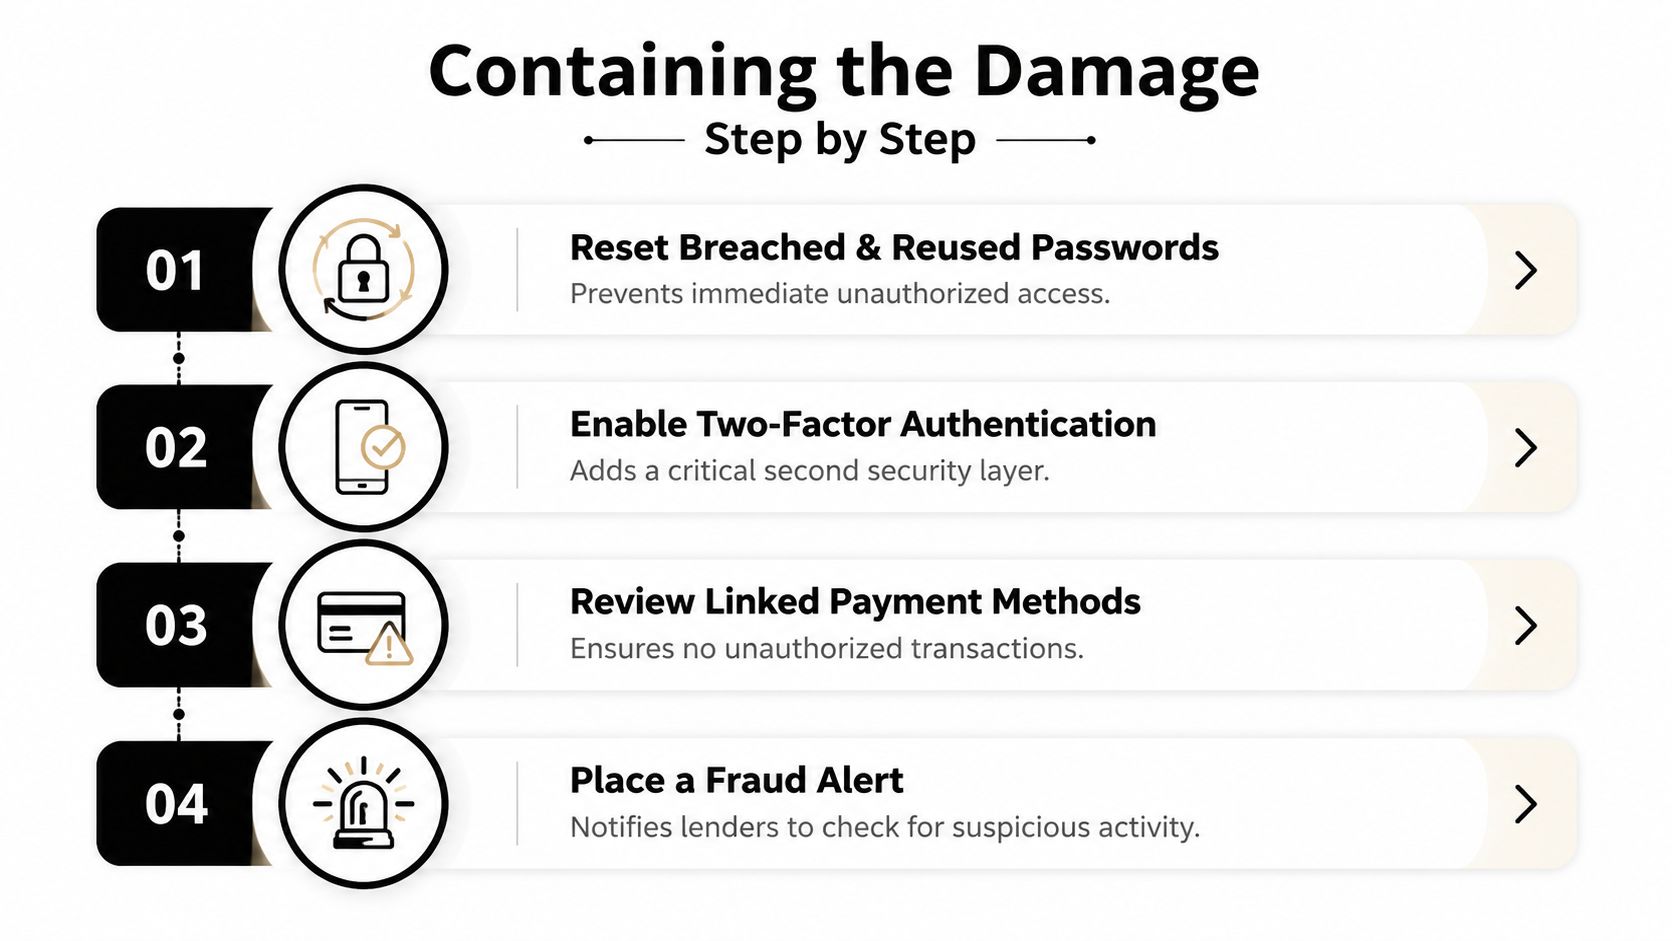
Attackers can test stolen credentials within minutes of a breach, so I would contain access first, then protect money, then decide whether the account itself should be replaced.
Start with access, then strengthen it
Change the breached account password and every account using the same password or a close variation. Create unique credentials with a password manager. Replace security questions whose answers appear on public profiles, and avoid predictable substitutions.
Turn on multi-factor authentication immediately after the password change. Choose a hardware security key or authenticator app when available. SMS offers weaker protection because criminals can target phone numbers through social engineering or account-transfer attacks, but it still improves security over password-only access.
Then revoke existing access. Check for settings labeled sign out of all devices, recent sessions, connected applications, or authorized apps. Remove unfamiliar OAuth connections, rotate API keys, invalidate remembered devices, and inspect recovery email addresses and phone numbers. A password reset does not remove a session token that an attacker already holds.
Protect money and decide whether to migrate
If payment information was exposed, call the bank or card issuer using its official number. Ask whether to replace the account or card number. Review transactions yourself instead of waiting for a fraud alert, and save dispute confirmations and related messages.
Use a fraud alert when you want lenders to take extra steps before opening credit in your name. Choose a full credit freeze when the exposed information could support new-account fraud or you do not expect to apply for credit soon. A freeze restricts new applications more strongly and gives you greater control.
Move to a new email address or account if the breached account controls too many recovery paths, attackers return after resets, or the provider cannot explain suspicious sessions. Keep the old account open for evidence, recovery, and monitoring while you transition.
Containment principle: A password reset removes one known secret. Session revocation removes access that may already be active.
For a focused recovery walkthrough, follow this guide on how to get rid of hackers. I would not resume normal use until connected applications and recovery settings have been checked.
Running an OSINT Scan on Yourself
The breach notice tells you what one organization knows. An OSINT self-scan shows how your exposed identifiers connect across the public internet and known breach records. This step matters because a leaked email can be linked to old accounts, professional profiles, gaming handles, dating-app usernames, and public conversations the affected company never assessed.
Run the scan in a deliberate order. Start with every email address you’ve used, including old school, work, and gaming addresses. Check Have I Been Pwned and reputable breach-aggregation services. Don’t paste passwords into a search form. A breach result is a signal to change a credential, not proof that a particular record is current.
Next, check phone numbers and usernames. Search usernames across social platforms, forums, gaming communities, and public profile directories. A reused handle can connect a professional identity to a gaming profile or a dating account. That connection can create reputational risk even when no password is exposed.
Search images and verify the findings
Run reverse-image searches on profile photos you’ve used publicly. Look for duplicate profiles, impersonation, stolen photographs, and accounts using your image with a different name. Catfishing detection is partly an identity problem, and a breach can supply the email or phone clues that help scammers make an impersonation look credible.
Use the OSINT self-scan guide to organize searches across email, phone, usernames, and images. Record the source, date, identifier, and whether the result is actionable.
Classify each hit as fresh exposure, old exposure, recycled information, or unverified noise. Prioritize any finding that connects to a reused password, financial account, work login, recovery address, gaming inventory, or account containing private messages. Then verify through the account’s own security history before taking disruptive action.
A service such as Digital Footprint Check can scan email addresses and usernames across breach records, social platforms, gaming profiles, professional networks, and public records. Use the result to build a remediation list, then confirm important findings directly with the relevant account or provider.
Monitoring, Credit, and Legal Next Steps
Put the three major credit bureaus on your checklist, then choose between a fraud alert and a full credit freeze based on what was exposed and whether you need to apply for credit soon.
A fraud alert tells lenders to take extra steps before approving credit. A freeze blocks access to your credit file until you lift it. If a government identifier was exposed, or if suspicious applications have appeared, I’d favor a freeze. Store confirmation details, PINs, and related credentials in your password manager.
Build a financial review routine
Contact banks and card issuers through official channels if payment details were involved. Request replacement card numbers when appropriate, enable transaction alerts, and inspect statements line by line. Keep a written record of disputed transactions, dates, representatives, and case numbers.
Choose paid identity monitoring only when it solves a clear problem. It can help if you are coordinating a family member’s recovery or cannot review alerts consistently. Free self-monitoring works when you can check account activity, credit files, statements, and login notifications on a regular schedule. Reject any service that merely repeats a generic breach notice without useful alerts or recovery support.
Report identity theft through IdentityTheft.gov. The Federal Trade Commission describes it as the federal government’s one-stop resource for reporting and recovery, and its reporting page provides context for the more than 1.1 million identity-theft reports in 2024 (FTC Consumer Sentinel Network Data Book).
Know when the situation has outgrown self-help
File a police report when financial identity theft, document misuse, threats, or impersonation requires an official record. Notify creditors in writing, provide your FTC report when relevant, and complain to your state attorney general if an organization refuses to address a material issue.
Consult a lawyer when losses are substantial, medical or government records are involved, a minor’s identity was exposed, an employer or landlord decision is affected, a company refuses to correct inaccurate information, or collectors pursue debts you did not create. A lawyer can assess remedies and deadlines. Immediate containment still comes first.
Use this identity theft recovery checklist to keep evidence, deadlines, contacts, and follow-ups in one place. If you do not know how the attacker obtained access, record each unresolved possibility beside the action it requires, then keep monitoring until the evidence narrows the path.
The Repeat Victim and the Mental Load No One Talks About
Breach recovery isn’t a one-time administrative chore for many people. The Identity Theft Resource Center reported that in 2025 31.5% of victims were targeted twice and nearly 24.6% were victimized three times within the same year (ITRC victim impact reporting). Repeated exposure creates security debt. Each new notice makes the next password reset, freeze, and alert easier to postpone.
The common advice to “be vigilant” is inadequate. Fatigue causes people to reuse passwords, skip MFA setup, ignore transaction alerts, and stop checking recovery settings. Attackers benefit when a victim becomes too exhausted to distinguish a real warning from another routine notification.
The emotional impact is also measurable. The same reporting says 87% of survivors experienced anxiety, frustration, or depression, while 25% of general consumer victims seriously considered self-harm after identity crime (ITRC survivor impact reporting). If you’re in immediate danger or thinking about harming yourself, contact emergency services or a crisis line in your country now. Don’t handle that moment alone.
Treat recovery support as a security control
Break the work into short sessions. Ask a trusted person to sit with you while you call a bank, freeze credit, or review accounts. IdentityTheft.gov recovery guides and nonprofit identity-theft victim advocates can help you turn a confusing incident into documented tasks.
Financial stress, shame, anger, and sleep disruption aren’t evidence that you’re careless. They’re reasons to reduce the number of decisions you must make alone. A qualified counselor can help when fear keeps interrupting work, relationships, or daily routines. For readers in British Columbia, a guide to trauma counselling in Kelowna offers a starting point for finding appropriate support.
Recovery is protective: Rest, delegation, and professional help reduce the fatigue that causes people to skip security controls.
If a scammer uses your breach exposure to approach you through a dating app, social media, email, or a gaming community, stop the conversation. Don’t send money, verification codes, identity documents, or intimate images. Romance scams can begin outside dating apps. FTC online-dating guidance says that in 2025 nearly 30% of people who reported losing money to a scam said it started on social media (FTC online dating guidance).
Your 30-Day Recovery Checklist and Free Scan
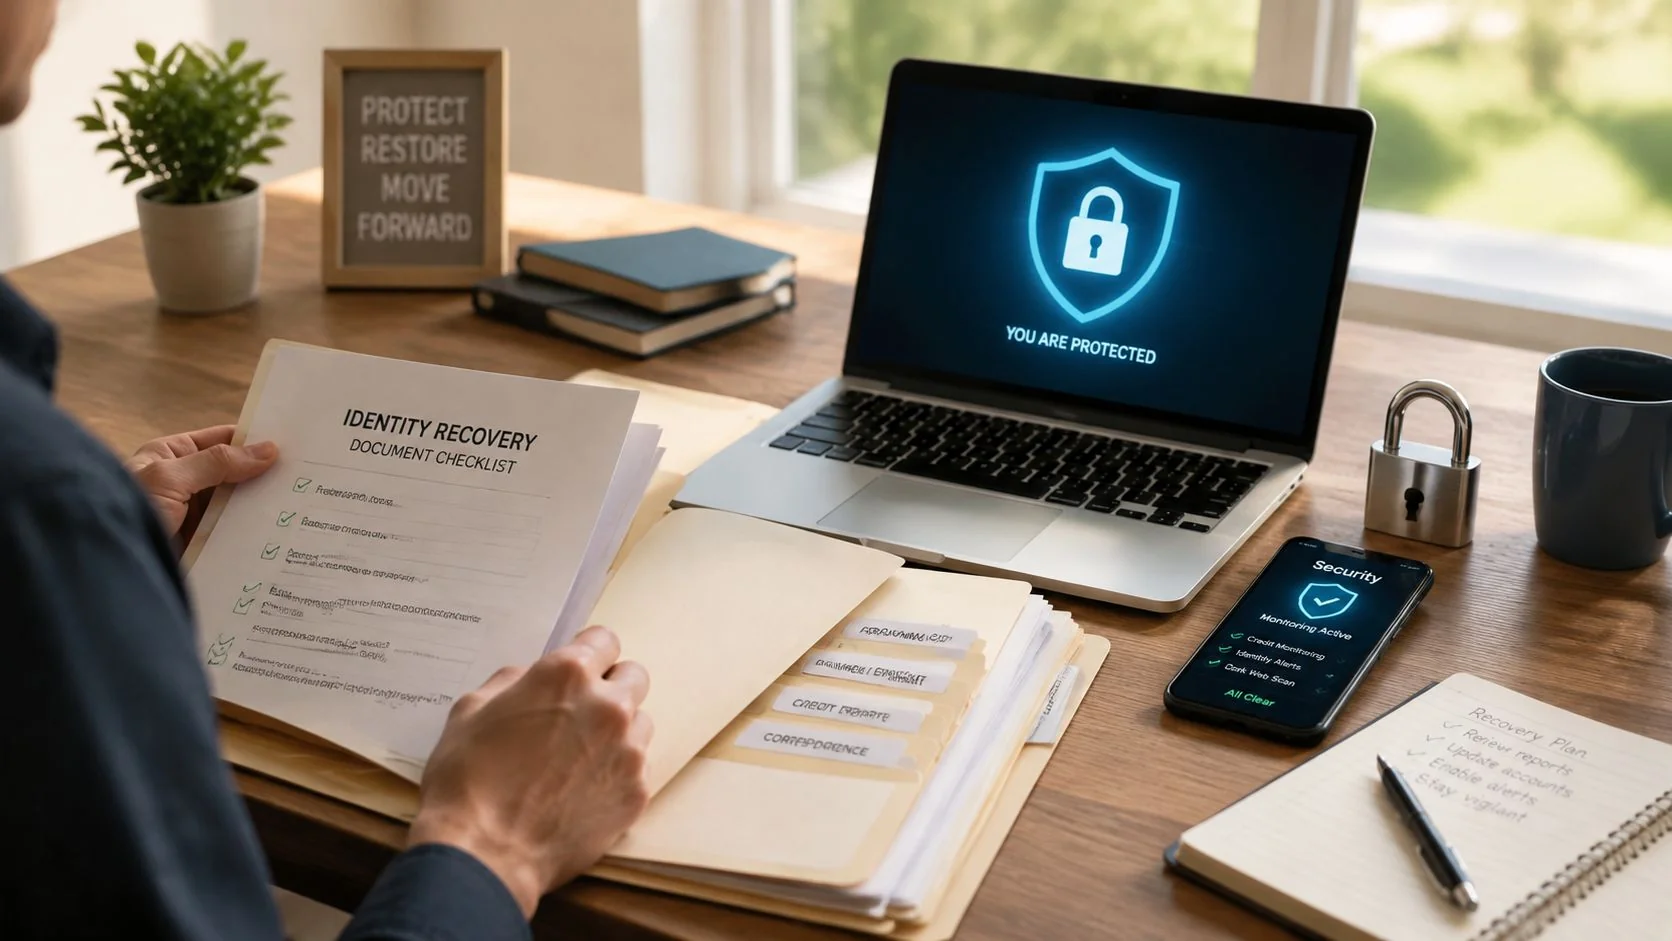
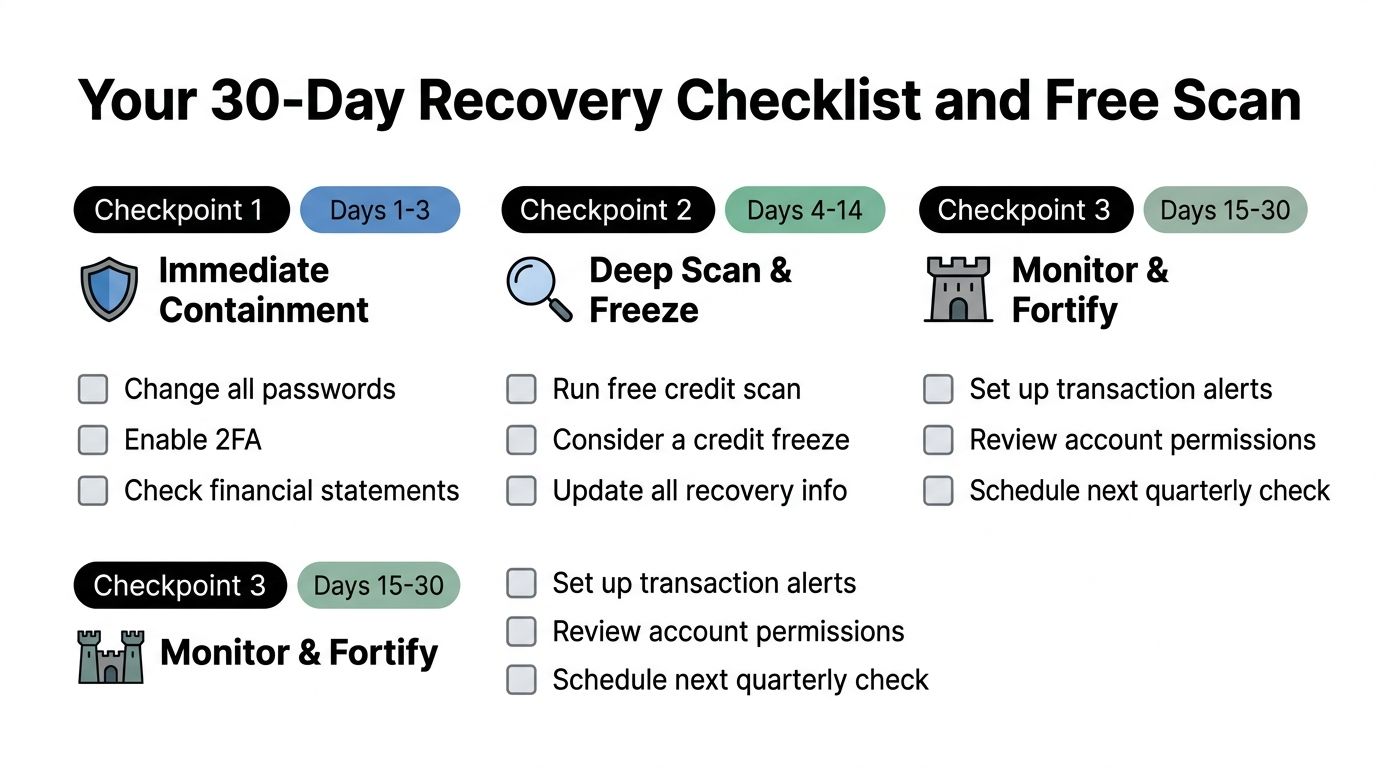
Print this checklist or keep it beside your computer. The purpose isn’t to complete every possible privacy task at once. It’s to make sure the high-value actions happen before the breach becomes yesterday’s notification.
Within 24 hours
- Document the incident: Save the notice, incident dates, affected service, exposed data categories, support contacts, and reference numbers.
- Reset access: Change the breached password and every reused password, starting with email and financial accounts.
- Enable MFA: Choose a hardware key or authenticator app where available, then review recovery methods.
- Revoke access: Sign out active sessions, remove connected applications, invalidate tokens, and delete unfamiliar remembered devices.
- Review money: Contact banks or card issuers if payment data was exposed, enable transaction alerts, and inspect recent activity.
- Add a fraud alert: Use this when lenders should verify your identity before opening new credit.
Within 7 days
- Freeze credit: Place freezes with all three major credit bureaus when exposed information could support new-account fraud.
- Run an OSINT scan: Search email addresses, phone numbers, usernames, gaming handles, public profiles, and profile photos.
- Verify findings: Separate stale breach records from active accounts, reused credentials, impersonation, and financial exposure.
- Write to the company: Ask what data was exposed, whether credentials were involved, what access was revoked, and what remediation is available.
- Report identity theft: Create an FTC report when someone has used your identity or financial information.
- Protect work and gaming accounts: Change credentials on employer systems, game launchers, marketplaces, and accounts that share recovery email addresses.
Within 30 days
- Rescan identifiers: Check the email addresses, phone numbers, handles, and usernames you recorded during the first review.
- Review monitoring: Decide whether the company’s credit or identity monitoring offer provides useful coverage, and don’t assume enrollment replaces a freeze.
- Consider identity-theft insurance: Compare exclusions, reimbursement limits, restoration services, and whether the policy covers your actual risk.
- Request an IRS IP PIN: If your Social Security number was exposed, evaluate an IRS Identity Protection PIN as part of tax-fraud prevention.
- Review permissions: Remove old app connections, unused accounts, public contact details, and unnecessary profile information.
- Schedule the next check: Put a recurring privacy review on your calendar so recovery doesn’t depend on memory.
Your breach notice is only one view of your exposure. A free digital footprint scan can help map exposed email addresses, phone numbers, usernames, gaming profiles, public accounts, and breach history so you can verify the gaps a company’s letter leaves behind.
Digital Footprint Check helps you search your online presence across breach records, social platforms, gaming profiles, professional networks, and public records using identifiers such as email addresses, phone numbers, and usernames. Visit Digital Footprint Check to run a free scan, identify exposure that the breach notice may not mention, and turn the results into a focused recovery list.