· Digital Footprint Check · Content Marketing · 13 min read
What to Do After a Data Breach: Step-by-step Actions
Learn exactly what to do after a data breach with this prioritized checklist. From containment to credit monitoring and OSINT tools, protect your identity
You open a breach notification while answering messages, expecting a routine service update. Instead, it says an unauthorized party accessed information connected to your account. Your stomach drops, your mind races through every password you’ve reused, and the email offers so little detail that you’re unsure whether to change one password or lock down your entire identity.
That reaction is normal. A breach can make a personal security problem feel too large to manage, but you don’t need to solve everything at once. The safest response is a calm sequence: verify the notice, contain account access, determine what information may be exposed, protect financial identity, report misuse, and monitor for follow-on attacks.
Recognizing the Breach and Managing Immediate Reactions
The first message may come from a company you use, your bank, a workplace, or a monitoring service. You might also discover the problem indirectly, through an unfamiliar login alert, a password-reset email you didn’t request, a suspicious charge, or an account that suddenly locks you out. None of these signs proves the same type of incident, but each deserves careful verification.
Start by checking the sender without clicking links in the notification. Open the service through a bookmark or by typing its known website address, then look for an account notice or support message. Attackers know that breach victims are anxious, so follow-up phishing emails often imitate the breached organization and demand an urgent login, payment, or identity confirmation.
Pause before reacting
Don’t reply to the notification with personal information, download an unexpected attachment, or call a phone number supplied in a suspicious message. Use contact details from the organization’s official website or a statement you already trust. If the email is legitimate, save it, but treat every later message as untrusted until you verify it independently.
A quick account check can help you distinguish a genuine breach notice from a scam:
- Confirm the organization: Did you have an account or relationship with the company?
- Inspect the message carefully: Look for unusual sender addresses, pressure tactics, and links that lead somewhere other than the organization’s recognized domain.
- Review account activity directly: Check login history, security alerts, recent messages, and changes to recovery details.
- Record the notice: Save the email, date, affected service, reference number, and any description of the incident.
If you’re unsure whether your email address has appeared in an incident, use this guide to check whether your email has been hacked. The result won’t replace the breached company’s notice, but it can help you identify accounts that deserve immediate attention.
Practical rule: Your first objective isn’t to investigate the attacker. It’s to stop anyone from using the exposed information against you.
Breach notices often leave recipients confused because they don’t identify the exact records involved. You may feel embarrassed about reused passwords or angry that a company exposed information you entrusted to it. Put those feelings aside temporarily, not because they don’t matter, but because the next few actions have a clearer security payoff than speculation.
Taking Immediate Containment Actions
Containment starts with access. If a password or login identifier was exposed, change the password for the affected service immediately, then change any other account that uses the same or a similar password. The Federal Trade Commission’s breach guidance specifically warns that password reuse creates risk beyond the breached account.
Use a unique password for every important account. A password manager can generate and store distinct credentials, which is safer than inventing small variations you may reuse later. Begin with email, banking, payment services, cloud storage, social platforms, gaming accounts, and any account that can reset another password.
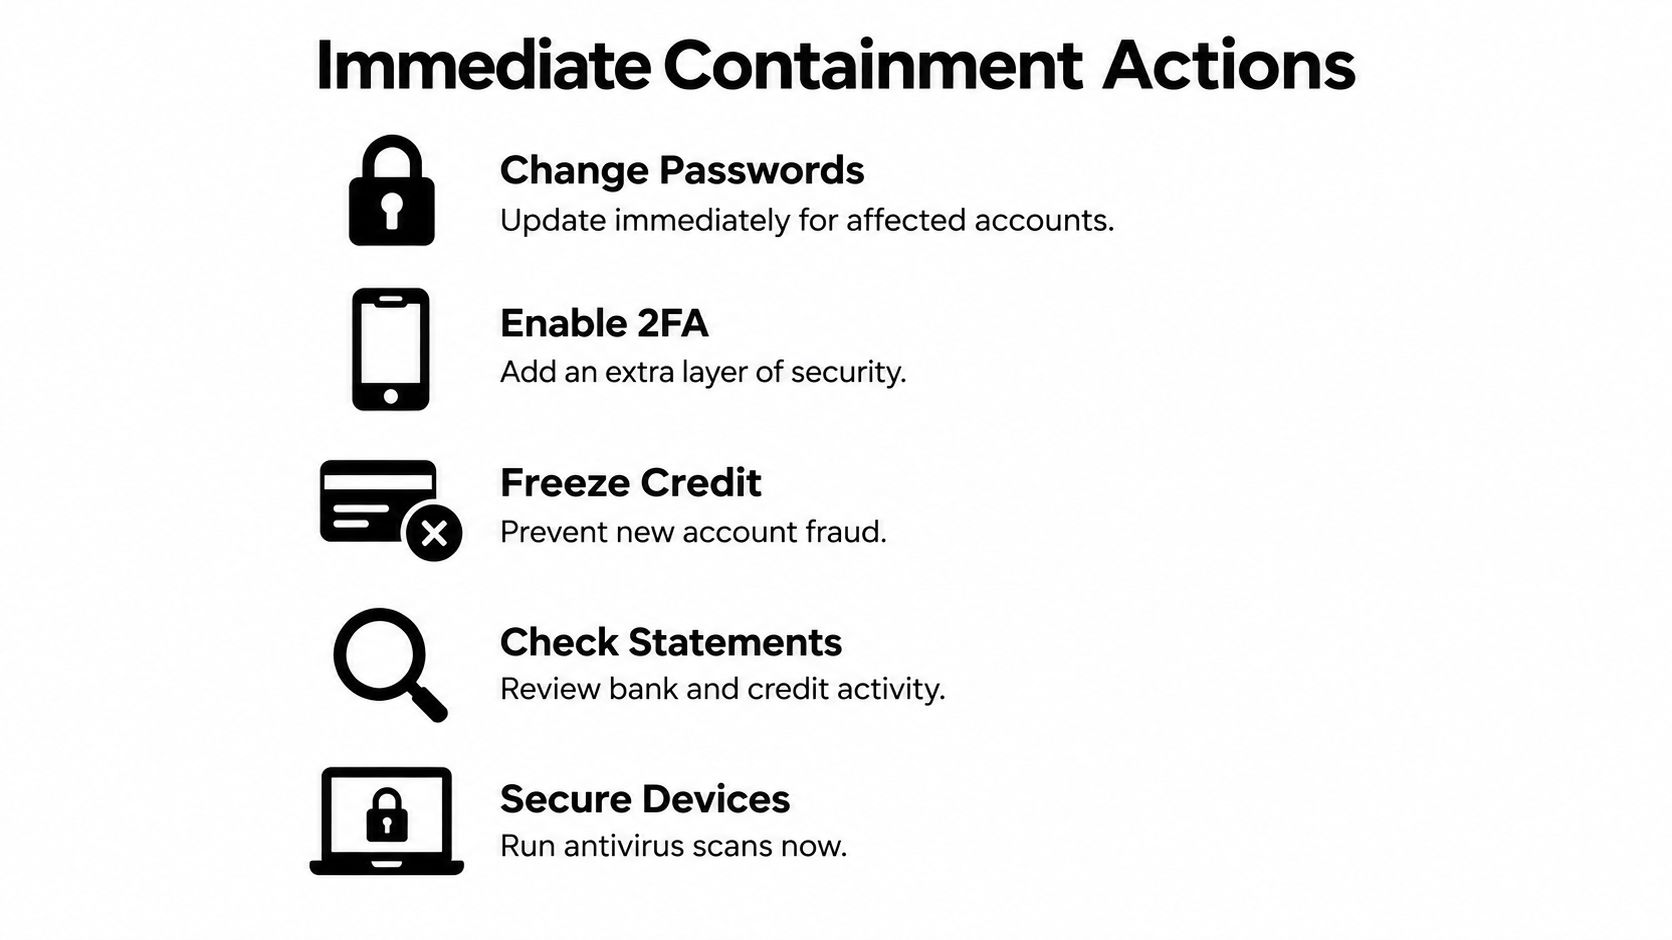
Work through the first response
- Change exposed passwords: Start with the breached service and every account sharing its password. Sign out other sessions if the provider offers that option.
- Enable multifactor authentication: Add an authenticator application, security key, or other available second factor. MFA helps block access when someone has the password but not the additional verification method.
- Secure recovery options: Check the recovery email address, phone number, backup codes, and trusted devices. Remove anything you don’t recognize and generate new backup codes where available.
- Disconnect suspect devices: If a laptop or phone shows unusual applications, security warnings, or account activity, disconnect it from your network while you investigate. Don’t wipe it immediately if the incident may require evidence.
- Review financial activity: Check bank, card, and payment accounts for charges, transfers, or account changes you didn’t authorize. Contact the institution using an official number if something looks wrong.
Don’t make broad changes that destroy useful evidence. The FTC, Microsoft, and BT-based response guidance emphasizes isolating affected systems, preserving evidence, monitoring access points, and restoring only from clean backups. For a household device, that can mean disconnecting it, taking screenshots of alerts, recording timestamps, and asking a qualified technician or the relevant provider for help before resetting it.
If you manage a business, involve legal, IT, communications, and leadership stakeholders through the incident-response plan. Organizations should also consider resources on how to reduce legal risk with data security while they preserve records and assess notification duties. Individuals who suspect active unauthorized access can use this practical guide on how to get rid of hackers, but should avoid downloading unverified “cleanup” software promoted in urgent messages.
Assessing What Data Was Exposed
Your response should match the data involved. An exposed name and email address can increase spam, phishing, and impersonation attempts. An exposed password creates a direct account-takeover concern, especially where credentials were reused. Payment-card or banking information calls for contact with the bank or card issuer, while a Social Security number creates a more persistent identity-theft risk.
Read the notification for four details: the affected account or service, the incident date or discovery period, the categories of information involved, and the protective services offered. Look for phrases such as “may have included,” because they indicate uncertainty rather than confirmation that every listed field was taken.
Build a data exposure map
Write down each category and pair it with the action it requires:
- Email address or username: Expect targeted phishing and look for accounts using the same identifier.
- Password or passcode: Change it wherever reused, revoke active sessions, and enable MFA.
- Payment-card information: Contact the issuer, cancel the compromised card, and request a replacement.
- Banking information: Contact the bank, review transactions, and ask about account-protection measures.
- Social Security number: Order free credit reports, inspect them for unfamiliar accounts, and consider a fraud alert or credit freeze, following the FTC’s identity-theft recovery guidance.
- Health or identity records: Preserve the notice and watch for impersonation, billing irregularities, or requests for additional documentation.
The FTC recommends reviewing what information was exposed and using IdentityTheft.gov when sensitive identity information is involved. The agency also advises affected people to use any offered credit monitoring or identity-theft insurance.
Breach notices frequently fail to provide the specific list people need. The Identity Theft Resource Center reports that 75% of survey respondents wanted a specific list of the personal data compromised, while 46% said they took no action after a notice because they felt there was nothing they could do. Those figures come from the 2025 ITRC Annual Data Breach Report.
When the notice is vague, don’t invent certainty. Instead, list the information you gave the organization and apply the strongest reasonable control to each category. An email breach lookup can help identify whether an email address appears in known breach records and what information those records associate with it, but it can’t prove what a particular attacker accessed.
Protecting Your Financial Identity and Credit
Financial protection has three distinct tools, and they solve different problems. A credit freeze restricts access to your credit file and can help prevent new credit accounts from being opened in your name. A fraud alert asks creditors to take additional steps to verify your identity. Credit monitoring notifies you about activity that appears on the monitored files or accounts, but it doesn’t stop every fraudulent action.
If a Social Security number or comparable identity information was exposed, a freeze deserves serious consideration. Set one separately with Equifax, Experian, and TransUnion, and keep the credentials or confirmation details needed to lift each freeze when you apply for legitimate credit. A freeze can create friction when you apply for a loan, rental, phone plan, or other service that checks credit, so plan to temporarily lift it rather than leaving your file open unnecessarily.
| Option | How It Works | Pros | Cons |
|---|---|---|---|
| Credit freeze | Restricts access to a credit file until you lift it | Strong barrier against some new-account fraud | You must manage the freeze when applying for credit |
| Fraud alert | Tells creditors to verify identity more carefully | Adds scrutiny without fully blocking access | It relies on creditors following the verification process |
| Credit monitoring | Sends alerts about selected credit or identity activity | Helps surface unfamiliar accounts or changes | Alerts are reactive and coverage varies |
| Account alerts | Notifies you about transactions, logins, or profile changes | Fast, direct visibility into specific accounts | You must configure alerts across providers |
| DIY OSINT monitoring | Searches public sources, breach records, usernames, and profiles | Can reveal exposed identifiers beyond credit files | Requires careful interpretation and privacy judgment |
Choose the control that fits the risk
Contact your bank or card issuer if payment-card or banking data may be exposed. The FTC advises consumers to cancel a compromised card or close the affected account and obtain a replacement. Review statements and transaction notifications rather than waiting for a formal fraud letter.
Credit monitoring offered after a breach can be useful, especially if it covers the relevant bureau or identity data and costs nothing during the offered period. It isn’t a substitute for a freeze, unique passwords, MFA, or direct account alerts. Paid services may combine more monitoring features, but compare their coverage, renewal terms, cancellation process, and handling of your personal information before enrolling.
DIY OSINT monitoring fills a different gap. It can help you find public usernames, old profiles, exposed contact details, or breach references that a credit product won’t show. It also produces noise, so verify findings through the original service and never contact a suspected attacker.
For credit-report problems, keep copies of every dispute and response. If unfamiliar inquiries appear, use a focused guide on removing hard inquiries from a credit report. Improving your financial position after an incident may also require broader budgeting and account review, alongside your path to a better credit score from Morgan & Morgan Attorneys at Law P.C.
Reporting the Breach and Legal Considerations
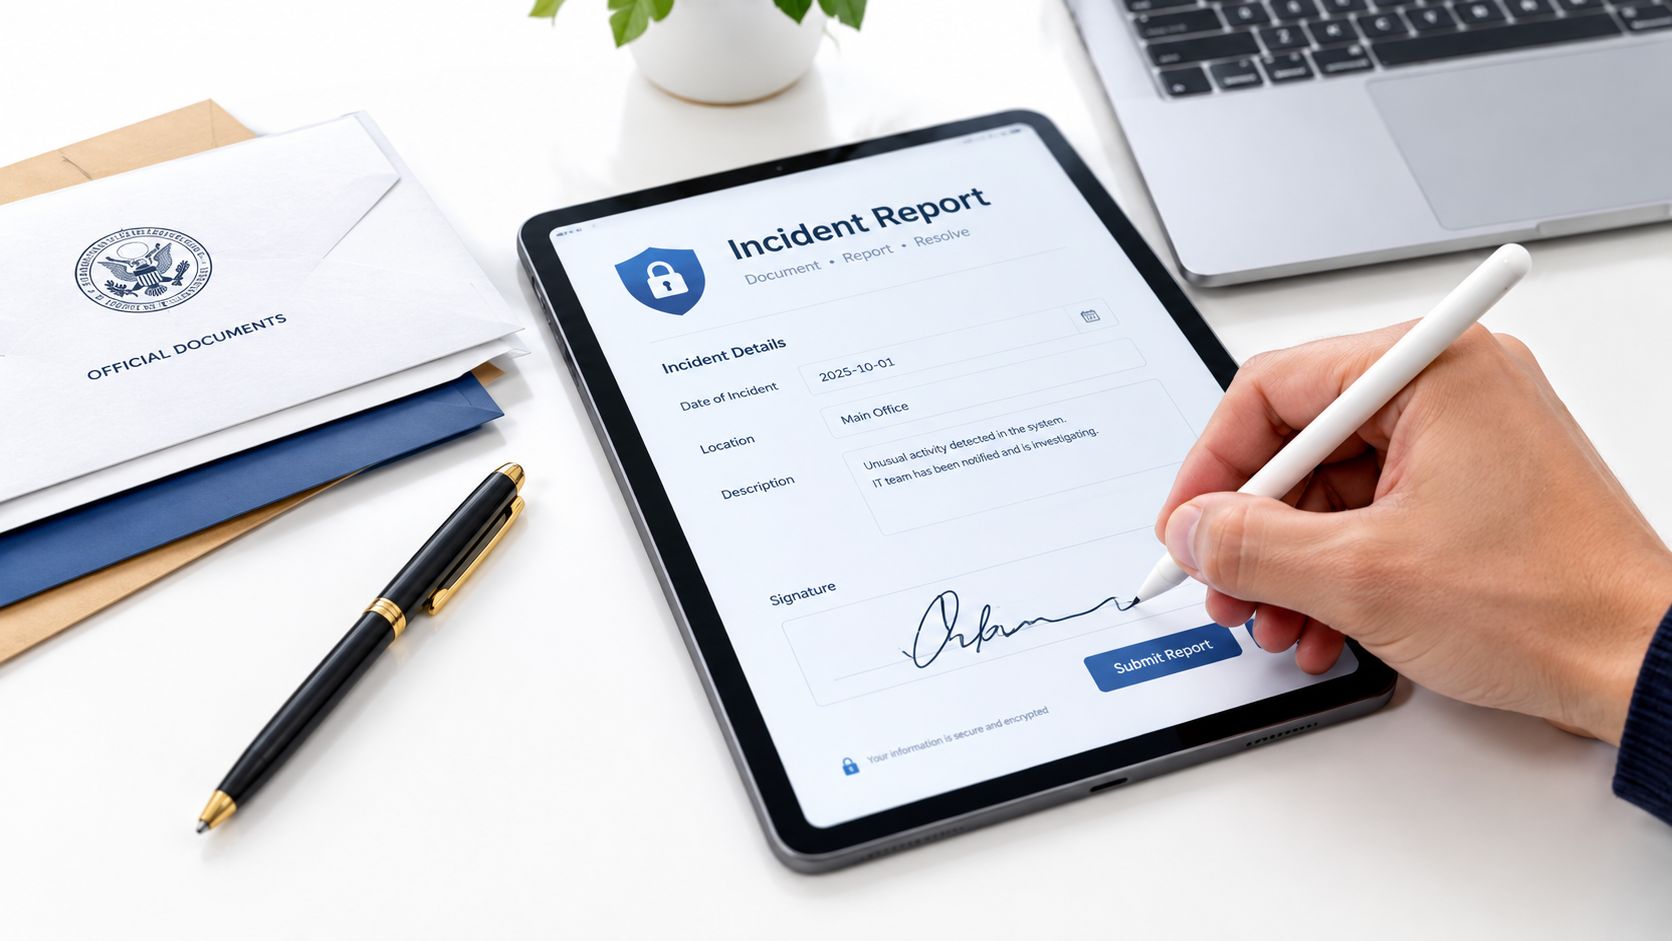
IdentityTheft.gov is the FTC’s central recovery path for reporting identity theft and getting next-step guidance. Use it when exposed information is misused, when unfamiliar accounts or charges appear, or when you need a structured recovery plan after identity-related exposure. The FTC also directs businesses to notify law enforcement immediately after a breach and report the risk of identity theft.
Keep an incident record
A detailed log turns a stressful sequence into usable evidence. Store it somewhere separate from the affected account and include:
- Dates and times: Record when you received the notice, saw suspicious activity, changed credentials, called providers, and submitted reports.
- People and organizations: Note names, departments, case numbers, phone numbers found through official channels, and promised follow-up.
- Evidence: Preserve the notice, screenshots, transaction records, password-reset messages, and credit-report entries.
- Costs and impact: Track replacement fees, disputed transactions, professional advice, lost work time, and any insurance claim information.
Don’t delete suspicious emails before preserving their headers or screenshots if an investigator, bank, employer, or insurer may need them. Avoid publicly accusing a company or individual based only on an unverified notification. A lawyer can help when the incident involves sensitive health or financial information, substantial losses, disputed responsibility, or complicated insurance and regulatory questions.
You can also review data breach notification requirements to understand why notices differ and what information an organization may provide. The exact legal position depends on where you live, the organization involved, the data category, and the harm that occurred, so general online guidance can’t replace advice for your situation.
Long-Term Monitoring and Mitigation Strategies
The first response reduces immediate exposure, but attackers may use stolen information later or combine it with data from another source. Long-term protection works best as a routine rather than a single dramatic cleanup. Keep checking the accounts connected to the incident, maintain financial alerts, and revisit recovery settings after your initial password changes.
A practical monitoring routine has several layers:
- Review breached services: Check account activity, active sessions, recovery details, connected applications, and security notifications.
- Watch financial identity: Review bank and card activity, credit reports, new-account notices, and unfamiliar addresses or inquiries.
- Search your digital footprint: Look for exposed email addresses, phone numbers, usernames, old profiles, and breach references across public sources.
- Protect high-value identities: Secure email, professional networks, cloud accounts, social profiles, and gaming accounts with unique credentials and MFA.
- Reassess after alerts: Treat every new notification as a signal to verify, not as proof that the latest message is legitimate.
Use OSINT carefully
Open-source intelligence tools can expose a different part of the problem than credit monitoring. Search your known email addresses, phone numbers, usernames, and profile names across public websites and breach databases. Compare results against your own records, because a matching name or username doesn’t automatically identify you.
Digital Footprint Check is one option for this work. Its platform searches 500+ platforms, including social networks, data-breach databases, gaming profiles, professional networks, and public records, and its free email breach scan can show known breaches associated with an address and the data categories listed for those records. Use findings to decide which accounts to secure or close, not to harass people, bypass access controls, or collect information about others without a legitimate purpose.
Search results are leads, not verdicts. Verify the source, date, account ownership, and exposure context before acting.
Don’t overlook gaming and professional accounts
Gaming profiles often contain valuable account history, payment details, rare items, social connections, or usernames reused elsewhere. Change credentials for the gaming account and its platform account, enable MFA, remove unknown linked applications, review purchase history, and make sure recovery details belong to you. Never share one-time codes with someone claiming to be game support.
Professional networks create a different risk. An exposed profile can support convincing impersonation, employment scams, or targeted messages to colleagues. Review public contact details, old roles, resumes, location information, and connected applications. Job seekers should also search their own names and usernames so outdated profiles or hostile content don’t subtly shape recruiter impressions.
Dating and social accounts need the same discipline. A scammer who knows your email, workplace, location, or old username can make a phishing message feel personal. Don’t send identity documents or payment details through an unsolicited link, and verify a supposed support representative through the platform’s official app or website.
Reduce future exposure
Close abandoned accounts that no longer serve a purpose, remove unnecessary public details, and stop reusing usernames that connect personal, gaming, dating, and professional identities. Keep software updated, use device locks, protect password-manager access with MFA, and store backup codes securely. Review privacy settings after major platform changes because default visibility can shift.
The aim isn’t to become invisible. It’s to make exposed information less useful, make account takeover harder, and notice misuse before it affects your money, work, relationships, or safety.
Digital Footprint Check can scan your email or username against known breach records and help map exposed accounts, public profiles, gaming identities, and professional information. Visit Digital Footprint Check to run a free check, then use the findings to prioritize password changes, MFA, account cleanup, and ongoing monitoring.